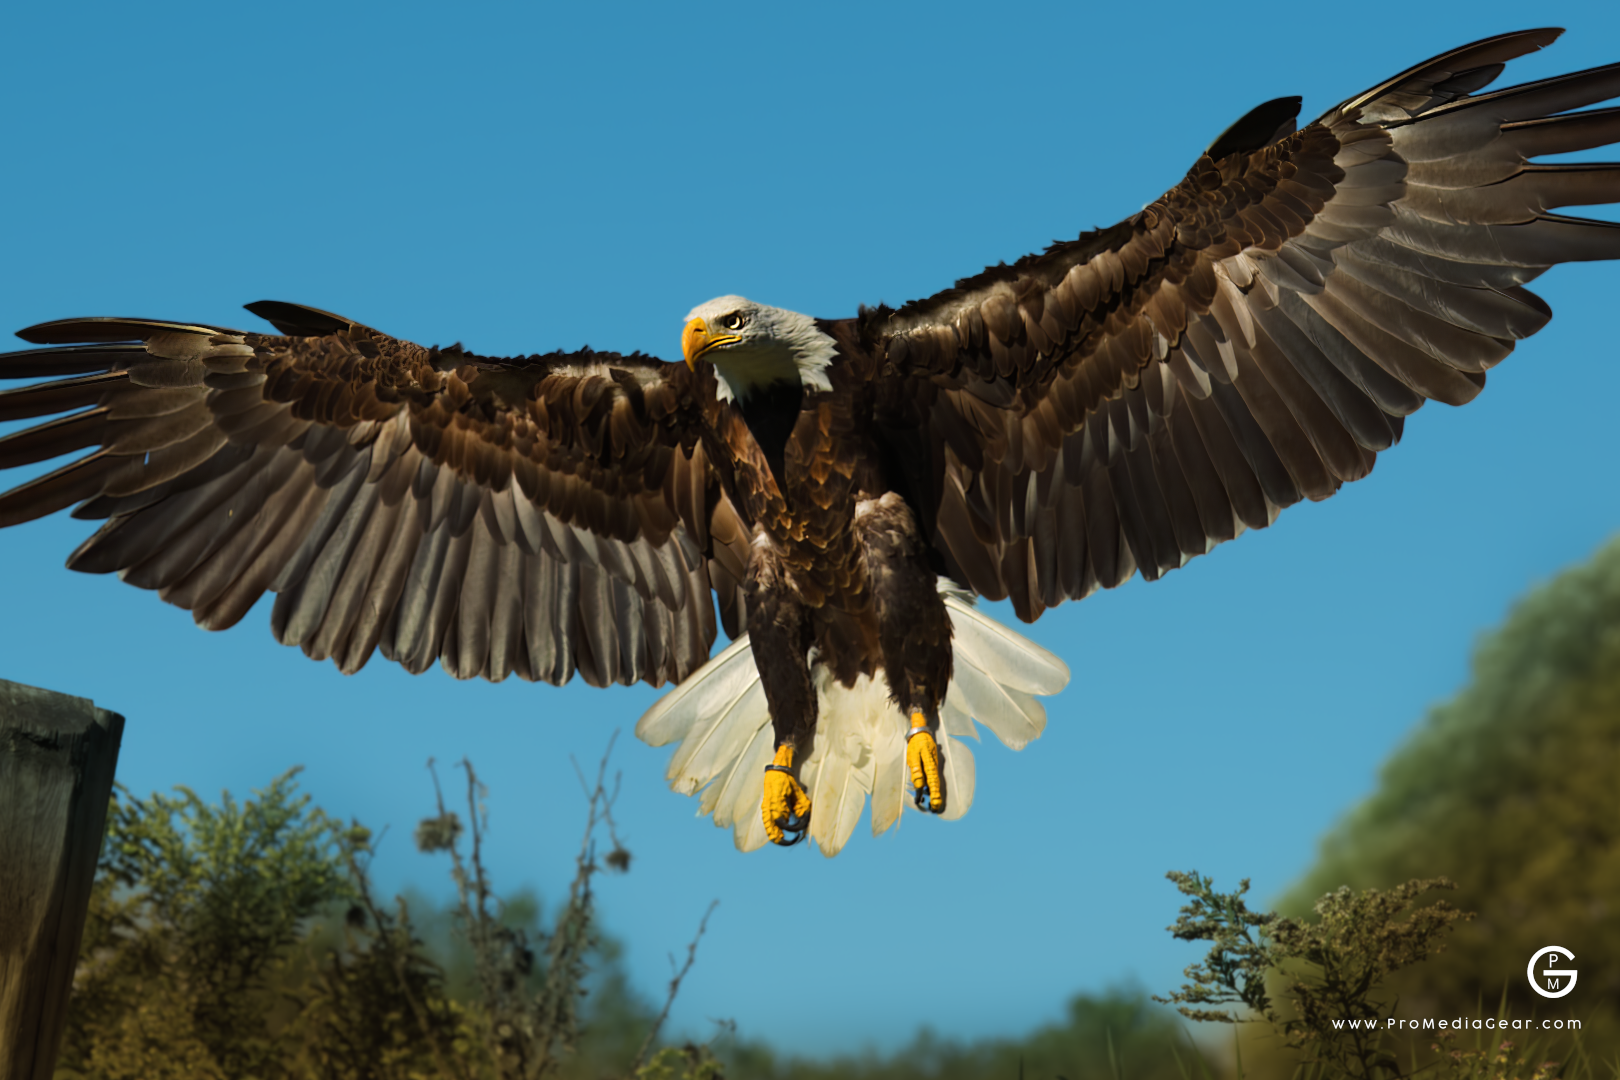
Birds in flight present a captivating subject for photography enthusiasts. The graceful motion, the challenge of timing, and the sheer beauty of these creatures in their natural element make for compelling images.
However, capturing birds in flight can be quite challenging, especially for beginners.
Imagine this. You are in the wild, searching for birds. Your camera is all set up and its finally time to nail the shot. But upon checking, the bird is too far in front or unrecognizably blurry.
We understand the frustration of missing the shot. That is why, we are here to share some beginner tips and techniques to help you improve your bird in flight photography skills.
Essential Gear for Birds in Flight Photography
Before you start shooting, it's important to have the right gear on hand. While you don't need the most expensive equipment to get started, having the following essentials will greatly enhance your chances of success:
Camera: A camera with a fast autofocus system and burst shooting capabilities is ideal for capturing birds in flight. DSLRs and mirrorless cameras are popular choices, but even high-end compact cameras can produce excellent results.
Fast autofocus is recommended. However, you can still take birds in flight photos with older DSLR models. For instance, the Canon Rebel T3i. It is harder, for sure, but with the right technique, you will be able to nail the shot.
Lens: A telephoto lens with a long focal length is essential for bringing distant birds closer to your frame.
A focal length of 300mm or more is recommended, although longer lenses offer greater reach and flexibility.
For APS-C or crop sensor cameras, a 200mm lens might be enough. But the extra 100mm is beneficial.
Tripod or Monopod: While not always necessary, a tripod or monopod can provide stability and support, especially when using heavier telephoto lenses.
Check out ProMediaGear selection of carbon fiber tripods and monopods and find out which one fits you.
Memory Cards: Birds in flight photography often involves shooting in rapid succession, so having plenty of storage space on your memory cards is essential. Go for high-speed cards to ensure quick write speeds.
Extra Batteries: Shooting continuously can drain your camera's battery quickly, so it's wise to carry spare batteries to avoid missing out on any shots.
Related post: The Ultimate Beginner's Guide to Bird Photography


Birds in Flight Photography Tips & Techniques
Now that you have the right gear, let's dive into some techniques to help you capture stunning photos of birds in flight:
Preparation and Patience: Familiarize yourself with the behavior of the birds you intend to photograph. Visit their habitats regularly and observe their flight patterns and feeding habits. Patience is key, as capturing the perfect shot often requires waiting for the right moment.
This is the major turning point between a dedicated bird photographer and a casual one.
Bird photographers often visit the site several times to observe flight patterns that they may use come the day of the shoot.
It is also great to scout the location before hand to know which spots are best to stay at. That way, you know if the place you have chosen is stable enough for a tripod or if there are other problems you might encounter.
Focus and Tracking: Use the continuous autofocus mode (AI Servo for Canon, AF-C for Nikon) to track moving subjects effectively.
Set your camera to its highest frame rate to increase your chances of capturing the perfect moment in a sequence of shots.
Practice your tracking skills as it is one of the crucial things you need to do to get your shot.
You may do so by tracking vehicles or even people walking. This allows you to get the feel of shooting moving subjects.
If you think you are being limited by vehicles or people, try to find a place where there are a lot of gulls or local birds.
These birds are relatively easier to shoot since they are already familiar with people. Practice by tracking them and making sure that you are in front of your subject as much as possible. If not, your output will lag behind.
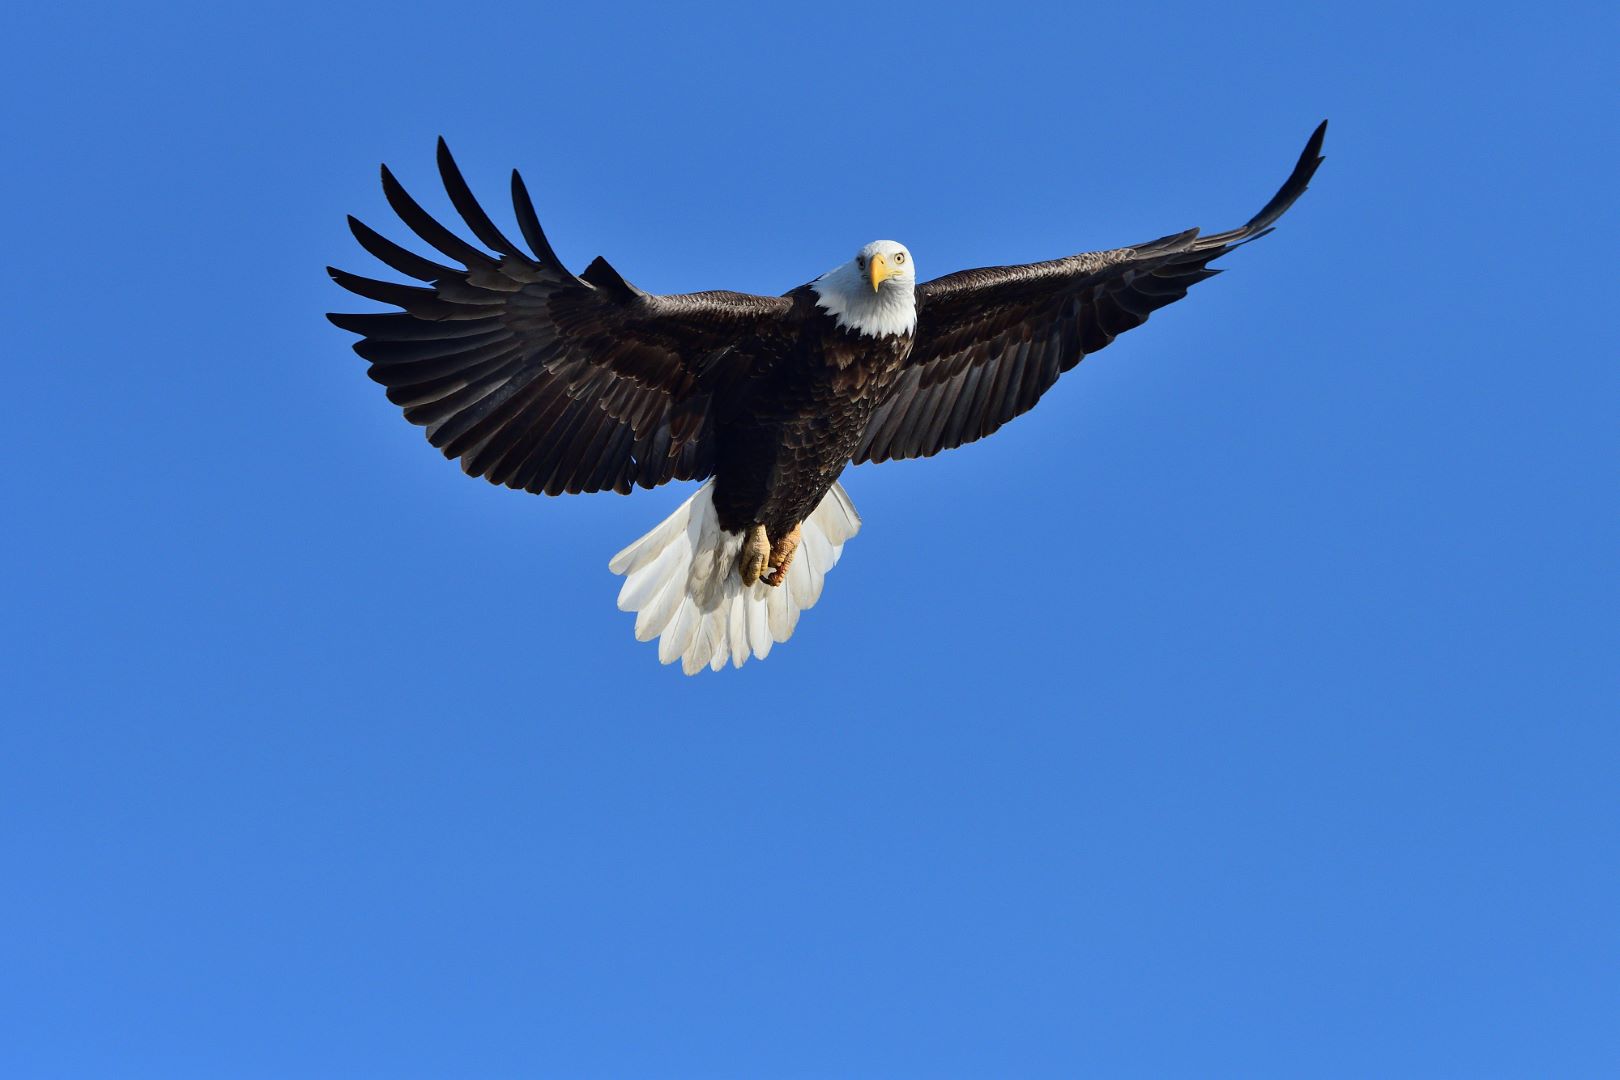
Shutter Speed: Birds in flight move swiftly, so a fast shutter speed is essential to freeze their motion and avoid blurry images. Aim for a minimum shutter speed of 1/1000s or faster to ensure sharp results.
Better yet, go for the highest shutter speed available for your camera and set your aperture or ISO to Auto to compensate for the exposure.
I know Auto settings is frowned upon by some. However, if you know when's the right time to use it, then it is fine to go for that setting.
Besides, using Auto reduces the mental load for you. You can then focus on tracking and shooting your subject instead of fiddling with the camera settings.
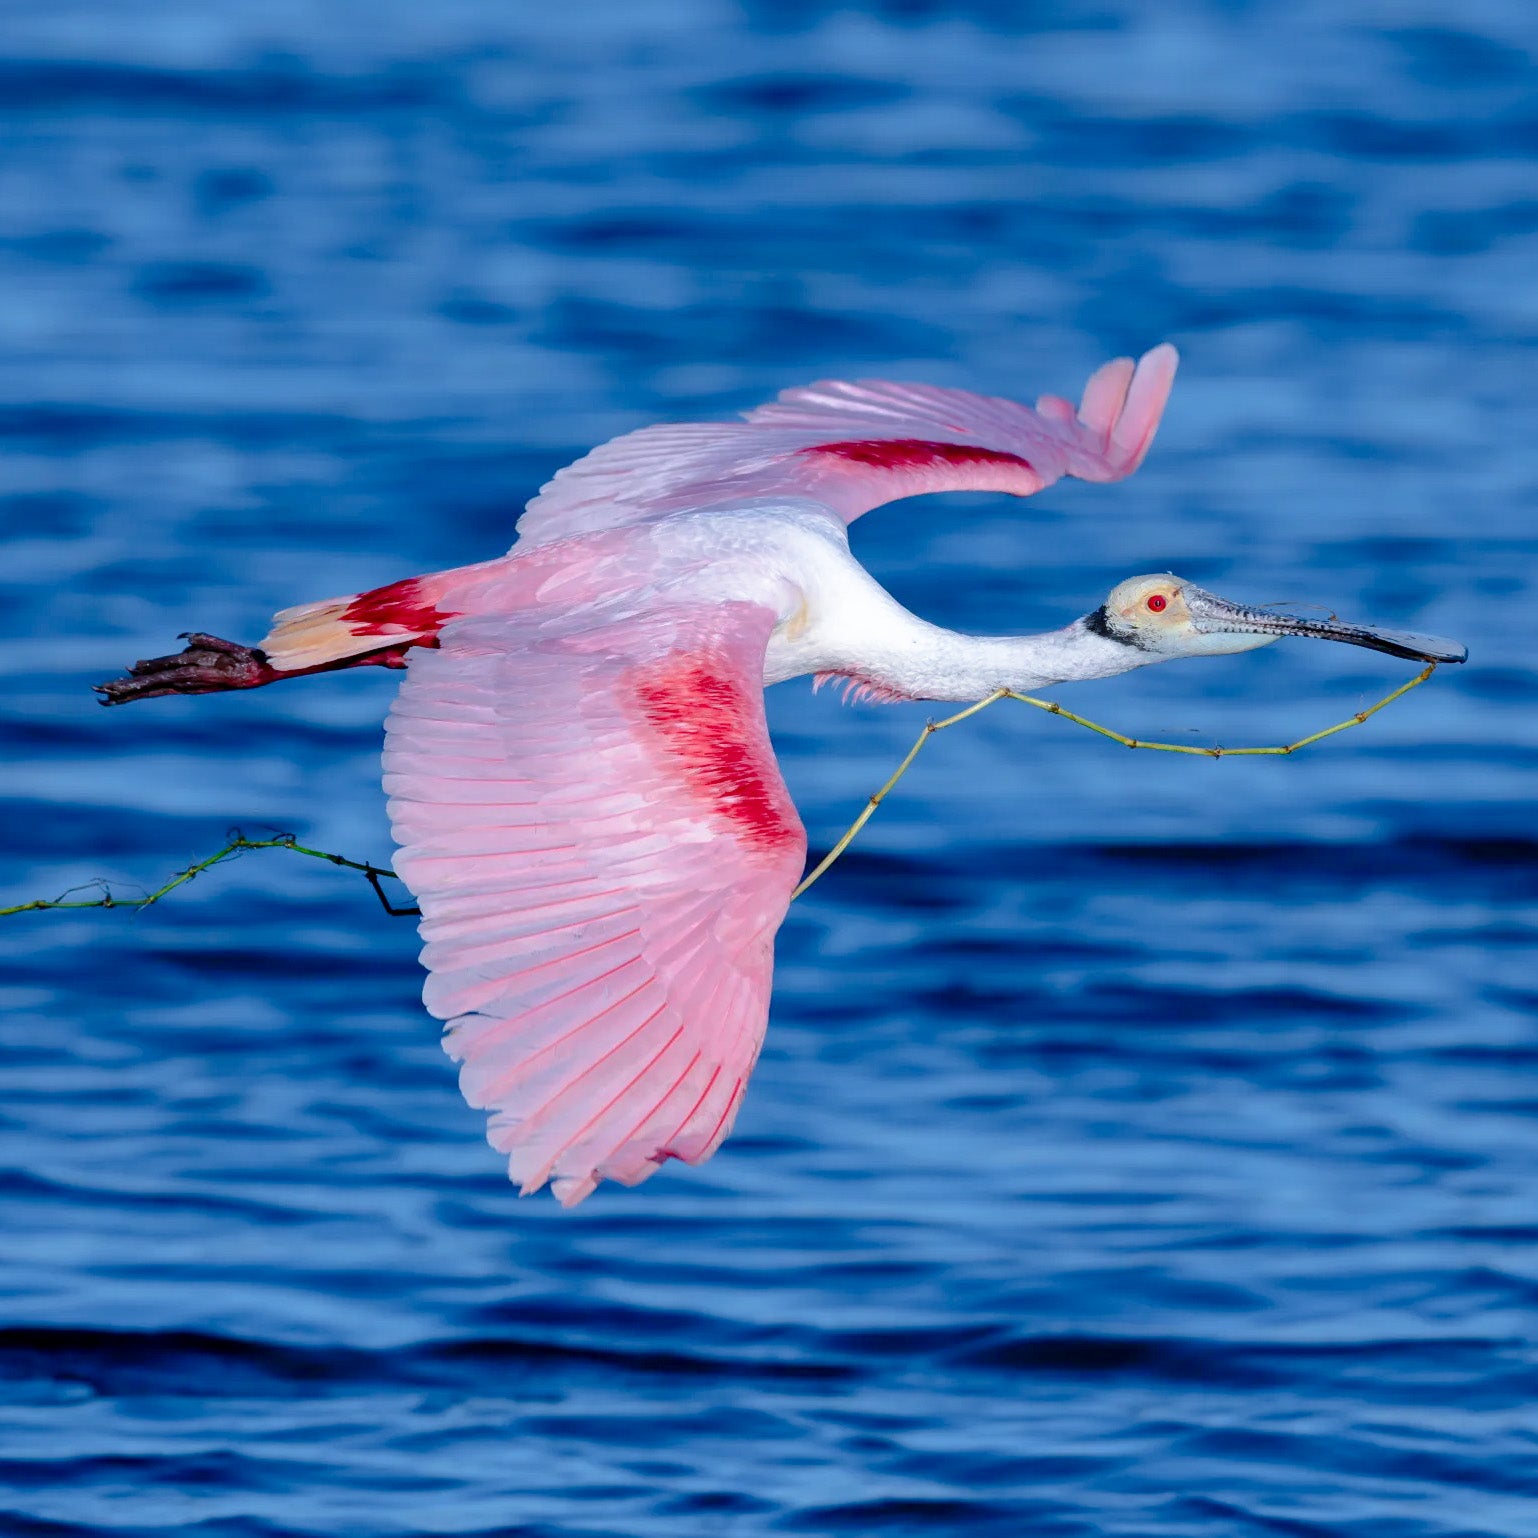
Composition: Pay attention to composition when framing your shots. Aim to capture the bird's movement and surroundings in a way that conveys a sense of grace and freedom. Experiment with different angles and perspectives to add interest to your images.
One thing you could do as a beginner birds in flight photographer is to compose your image with the subject in the middle. That way, you are sure that it is using the fastest AF point on your camera. This gives you the highest chance getting the subject in focus.
Moreover, unless you are doing large format prints, you can play with your images with the subject in the middle. You can crop and recompose during post-production.
Lighting: The quality of light can make or break a photograph. Whenever possible, shoot during the golden hours of sunrise and sunset when the light is soft and warm. Avoid harsh midday sunlight, which can create harsh shadows and washed-out colors.
The downside to this is you need a lens with a wide aperture. For beginners, these lenses might be out of reach.
However, if you do not have a lens with a wide aperture, let's say an f/6.3 lens, do not worry. Just bump up the ISO or adjust your shutter speed to absorb more light.
Post-Processing: Bring out the beauty of your shot
Once you've captured your images, don't hesitate to fine-tune them using post-processing software.
Adjustments to exposure, contrast, and sharpness can help enhance the overall look of your photos.
However, remember to keep your edits subtle and natural-looking to maintain the authenticity of the scene.
It is easy to overdo editing especially when you are just starting out. We've all been there and as curiosity gets you, you start to mess around with sliders to achieve a certain look.
There's nothing wrong with that.
But if you are a beginner, try to look for birds in flight images and see how the photographer has edited their shot.
You will notice that they look natural most of the time, unless the photographer has a distinct look or style.
Try to edit your photos and make them look as natural as possible. Besides, it would be nice for your audience to see what a bird in flight looks like as close as possible to the naked eye.
When in doubt, always try to replicate what your eyes can see. For sure, it will turn out great in the end.
Final Thoughts: Beginner Tips for Birds in Flight Photography
Birds in flight photography requires patience, practice, and a deep appreciation for the beauty of nature.
By following the tips outlined in this guide and dedicating yourself to honing your skills, you'll be well on your way to capturing stunning images of these majestic creatures in their airborne glory.
Grab your gear, head outdoors, and let your creativity take flight! Do not forget to tag our socials on your images @promediagear. We'd love to see your output!